Setting up HunchBuzz with ADFS
Step 1
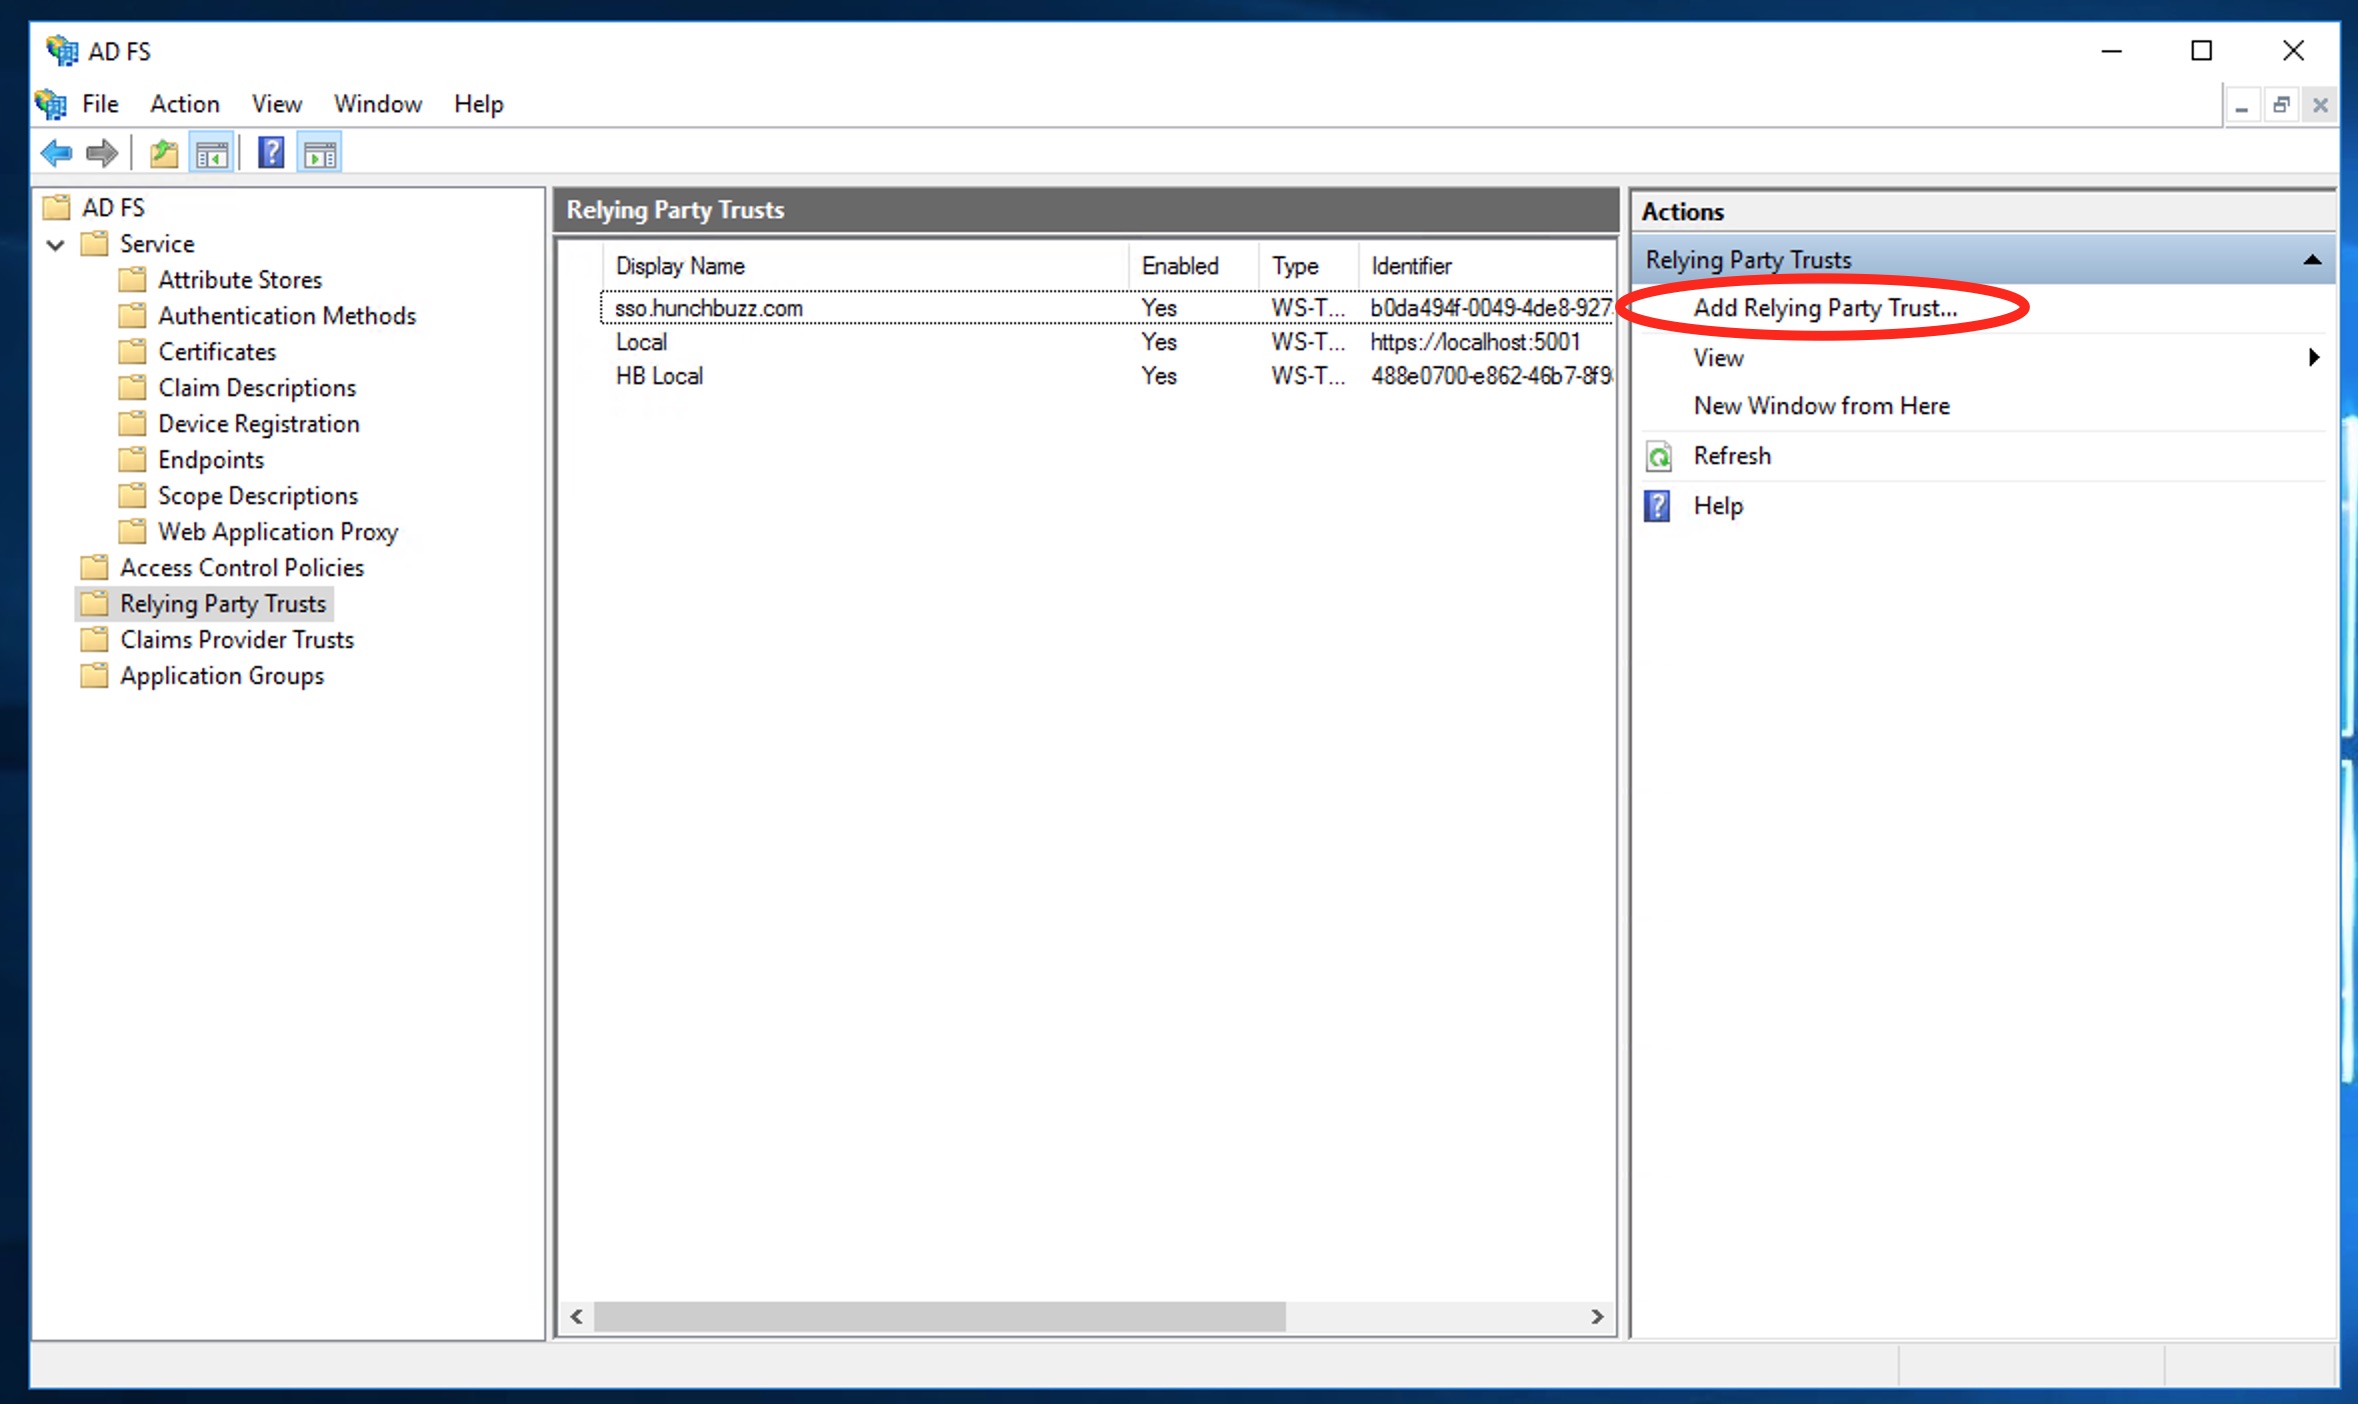
Open AD FS Management and navigate to “Relying Party Trusts” under “Trust Relationships”
Step 2 - Add the Relying Party Trust
-
Click “Add Relying Party Trust” on the right-hand bar
-
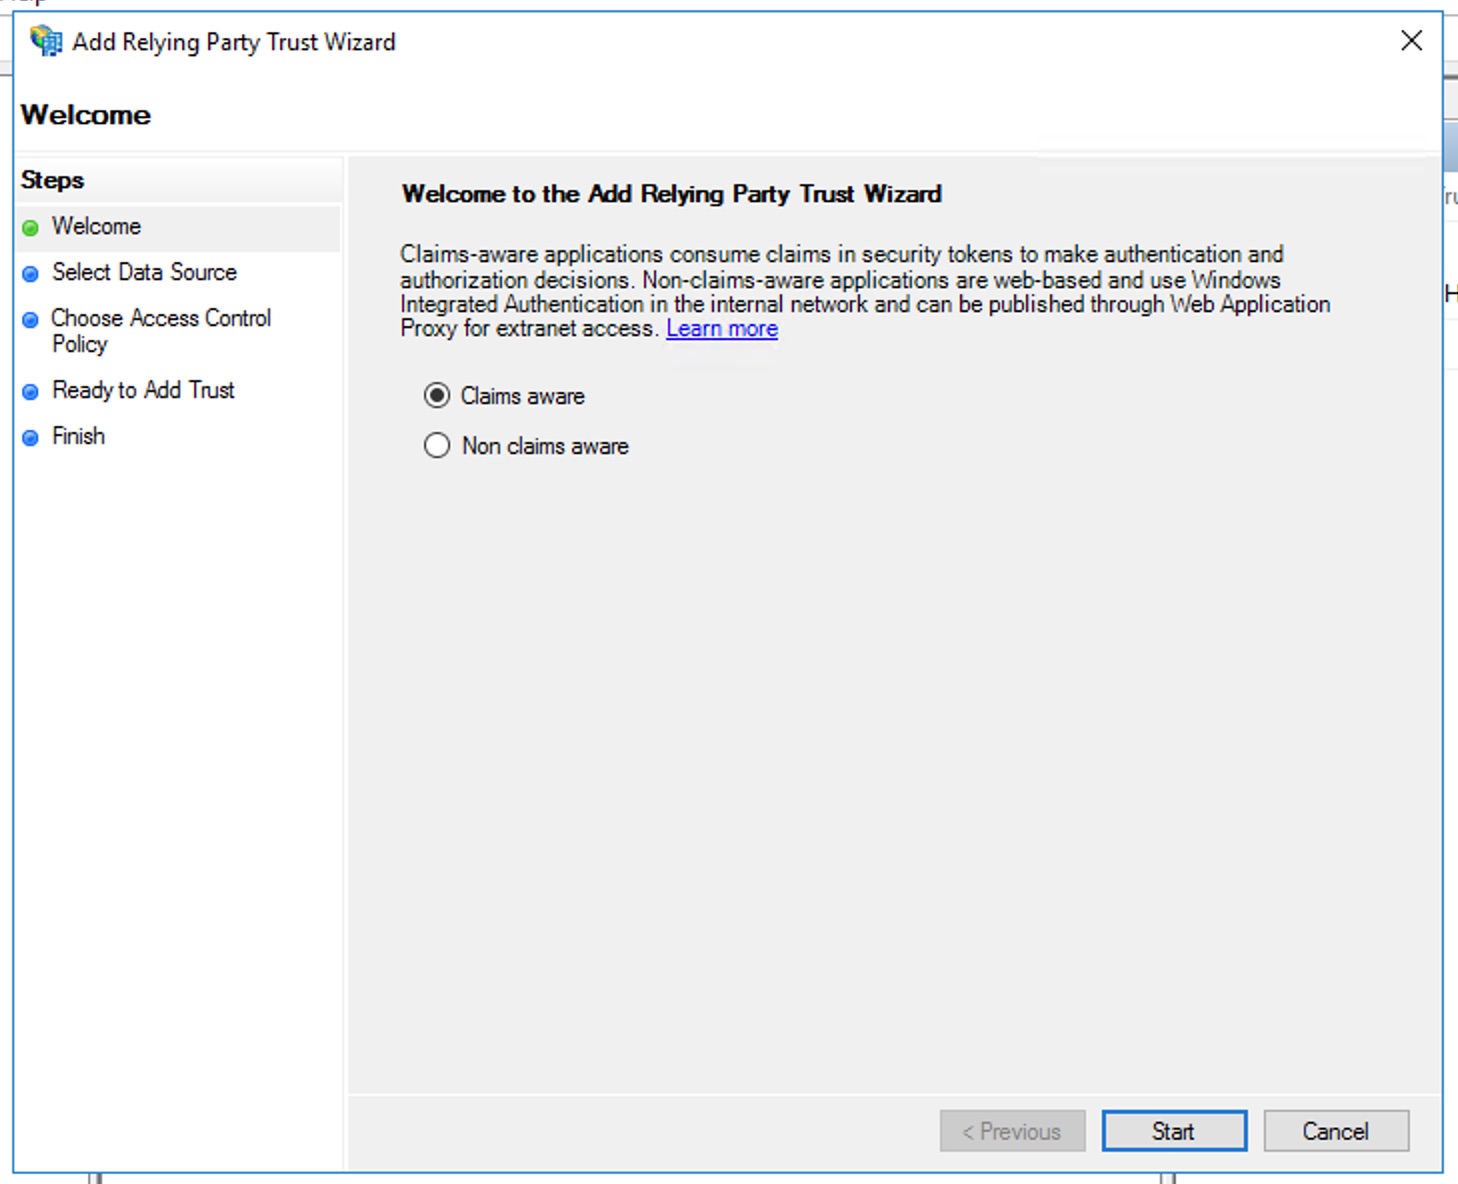
Pick claims aware and press next
-
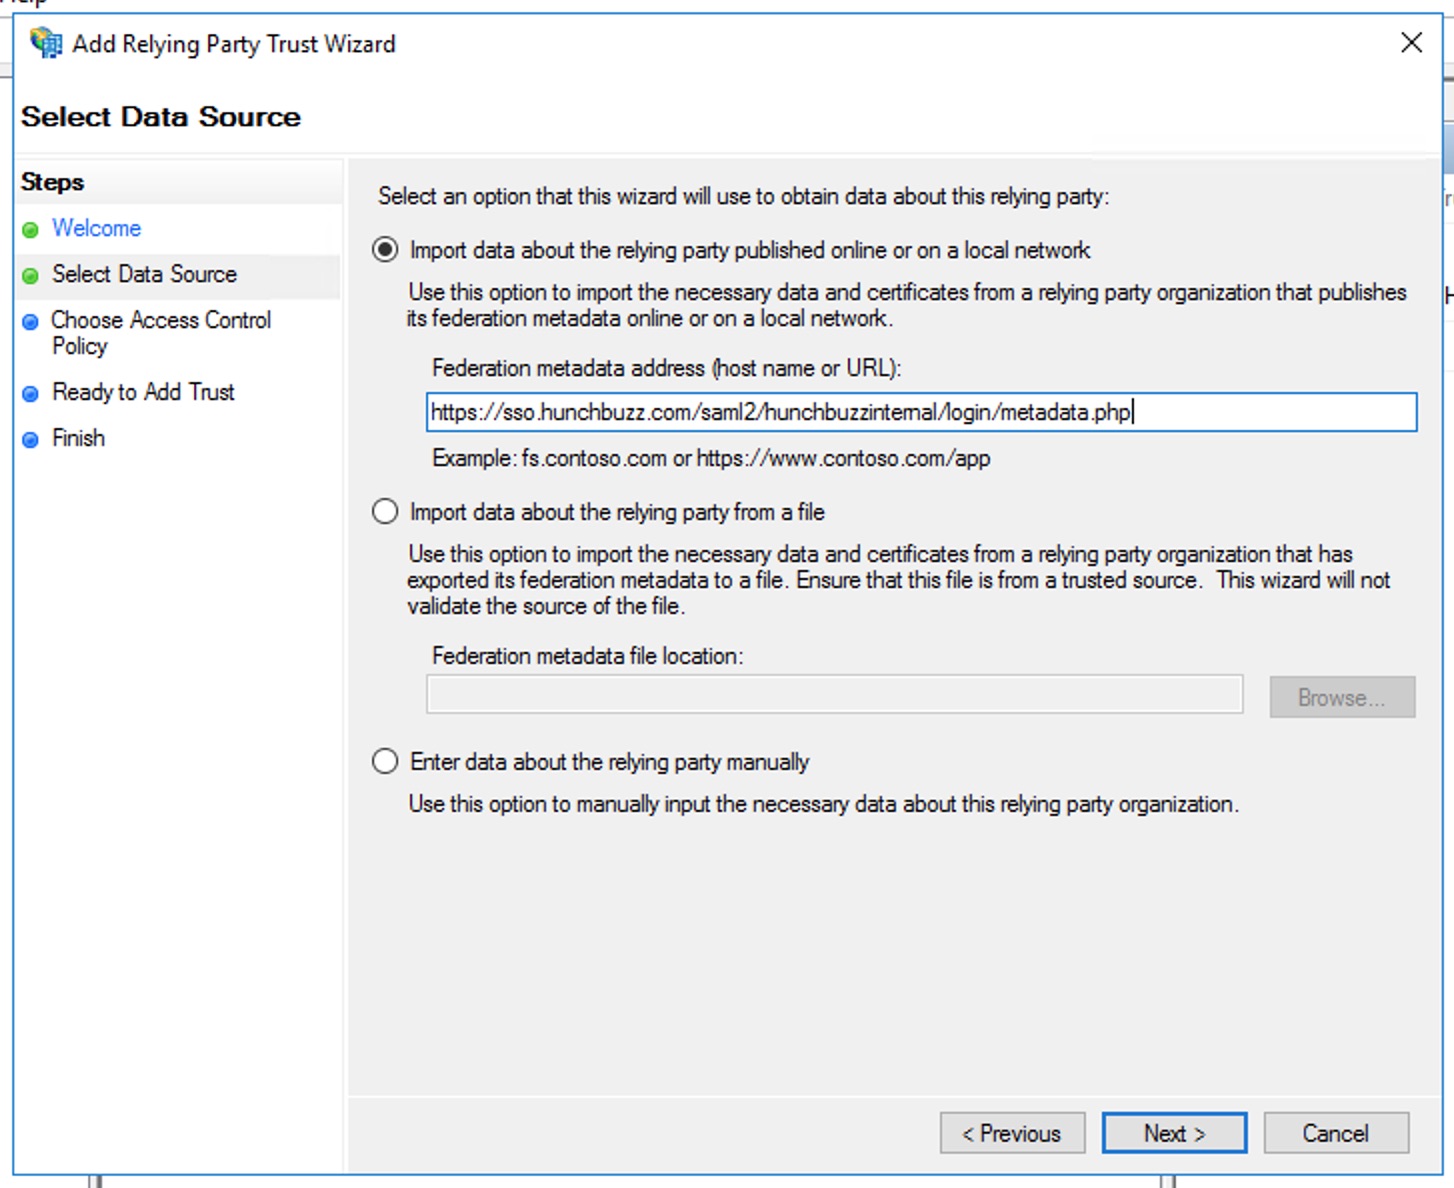
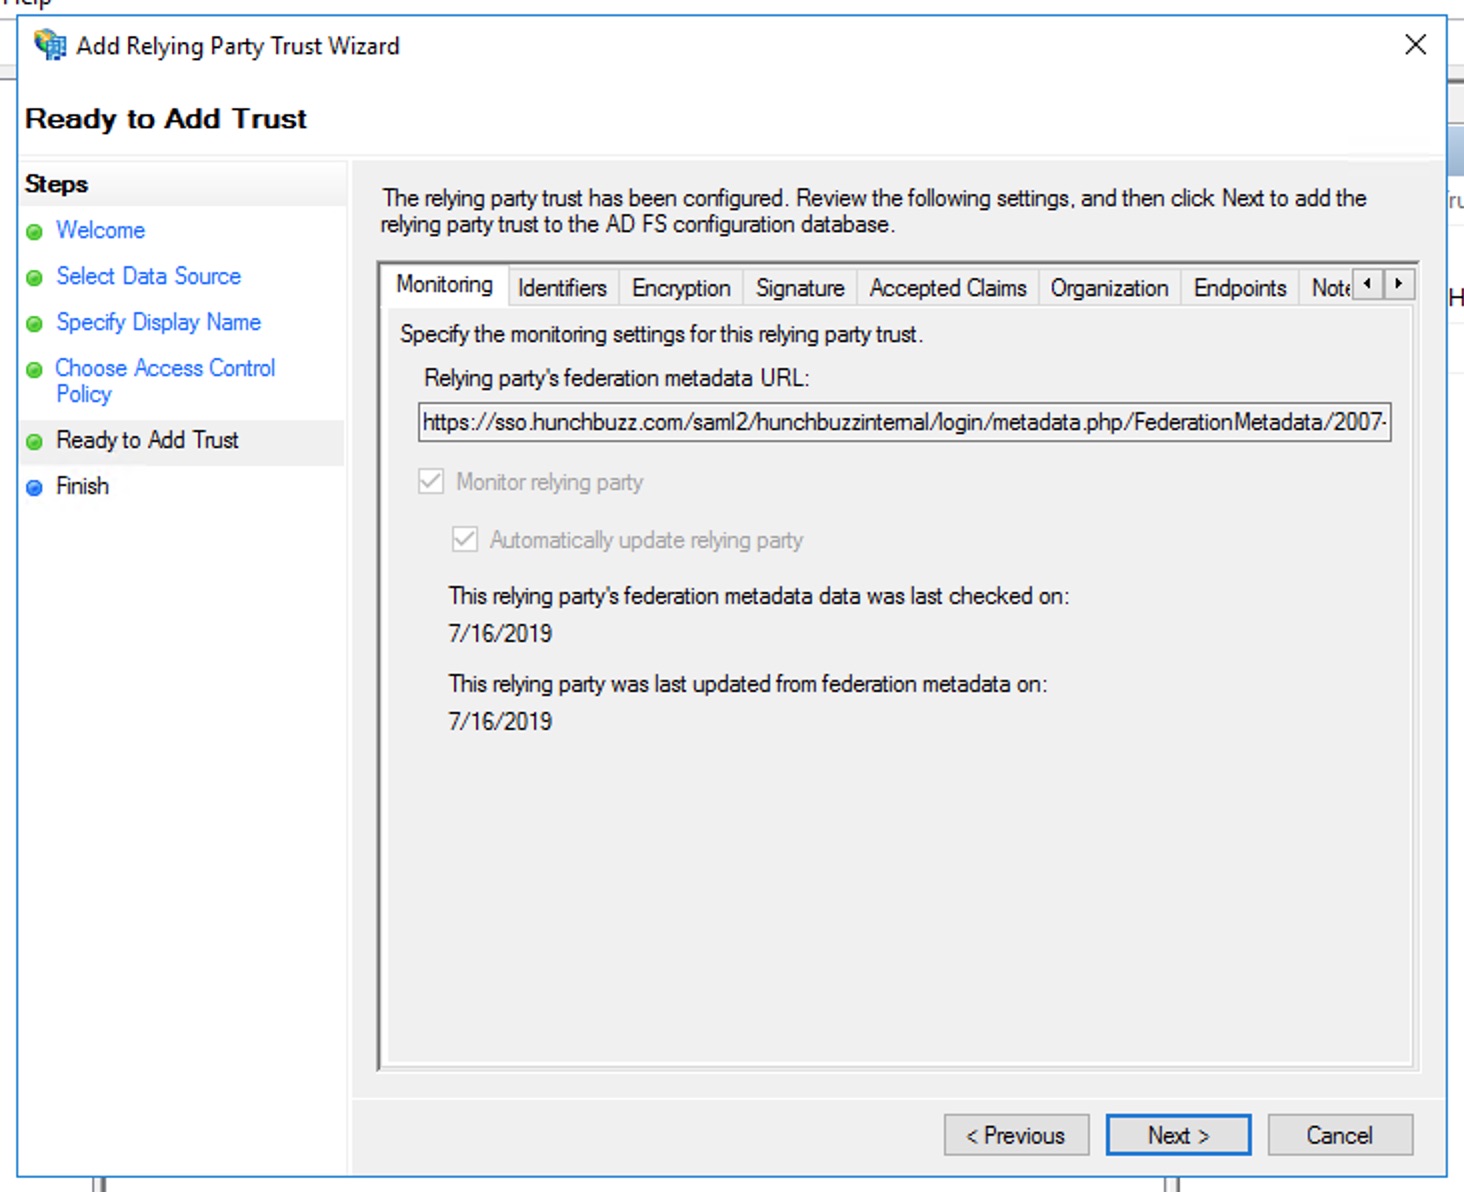
Paste the provided metadata url into the federation metadata address field and press next
-
Give your relay trust a name and if required, any notes

-
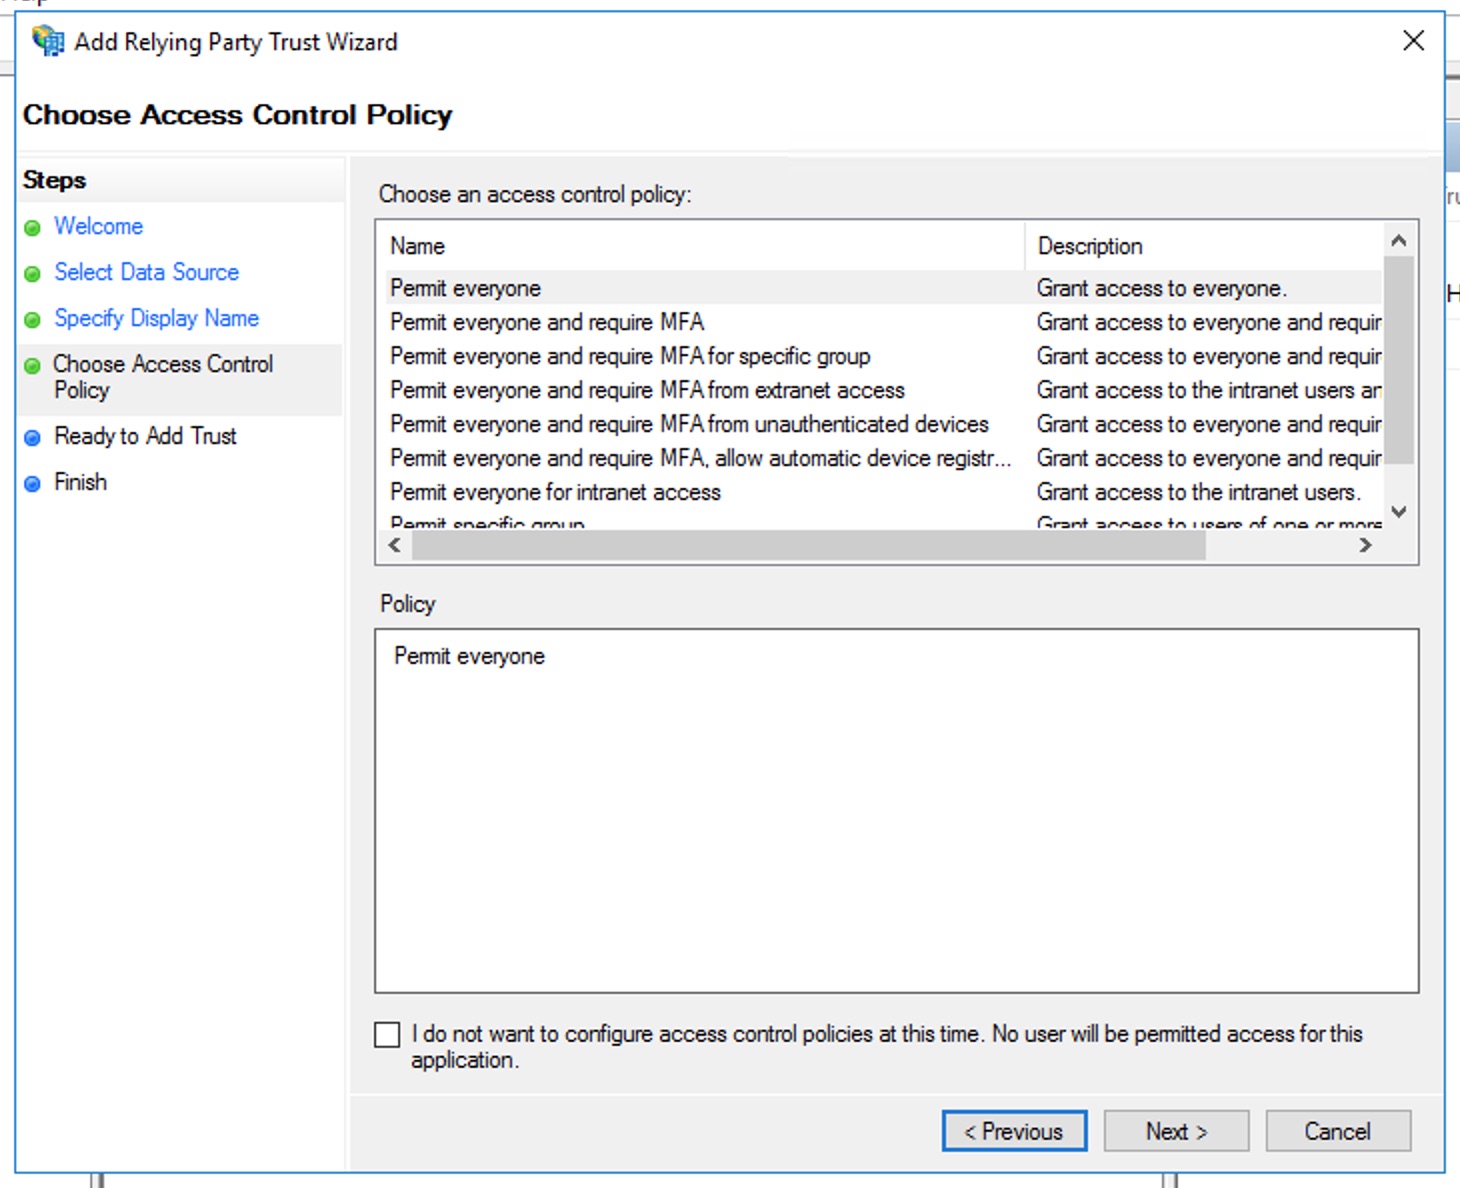
If required, configure your user group access - or press next if not required
-
Verify your configuration and press next
-
Leave the 'Configure claims' checkbox ticked and press close

Step 3 - Add the custom rules
-
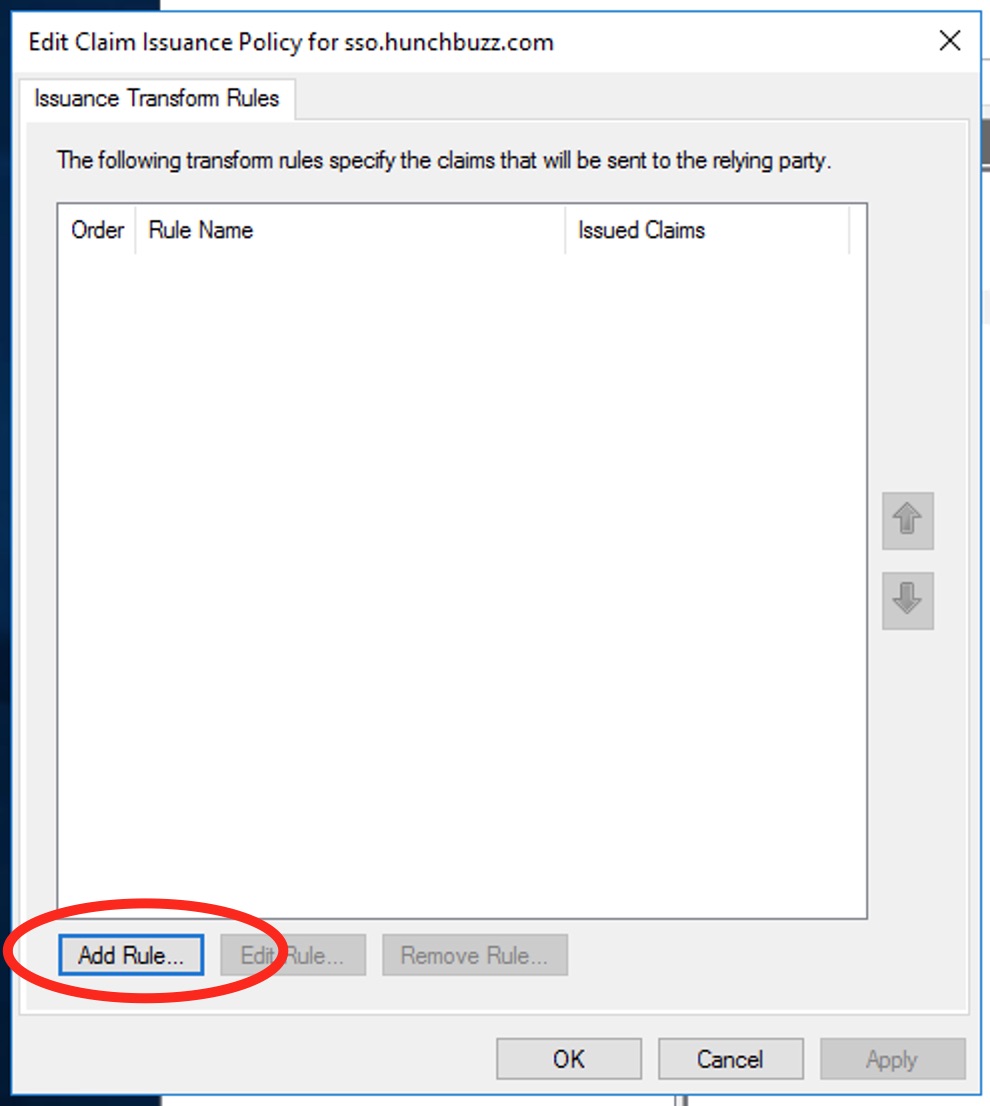
Click 'Edit Claim Issuance Policy'

-
Click 'Add Rule'
-
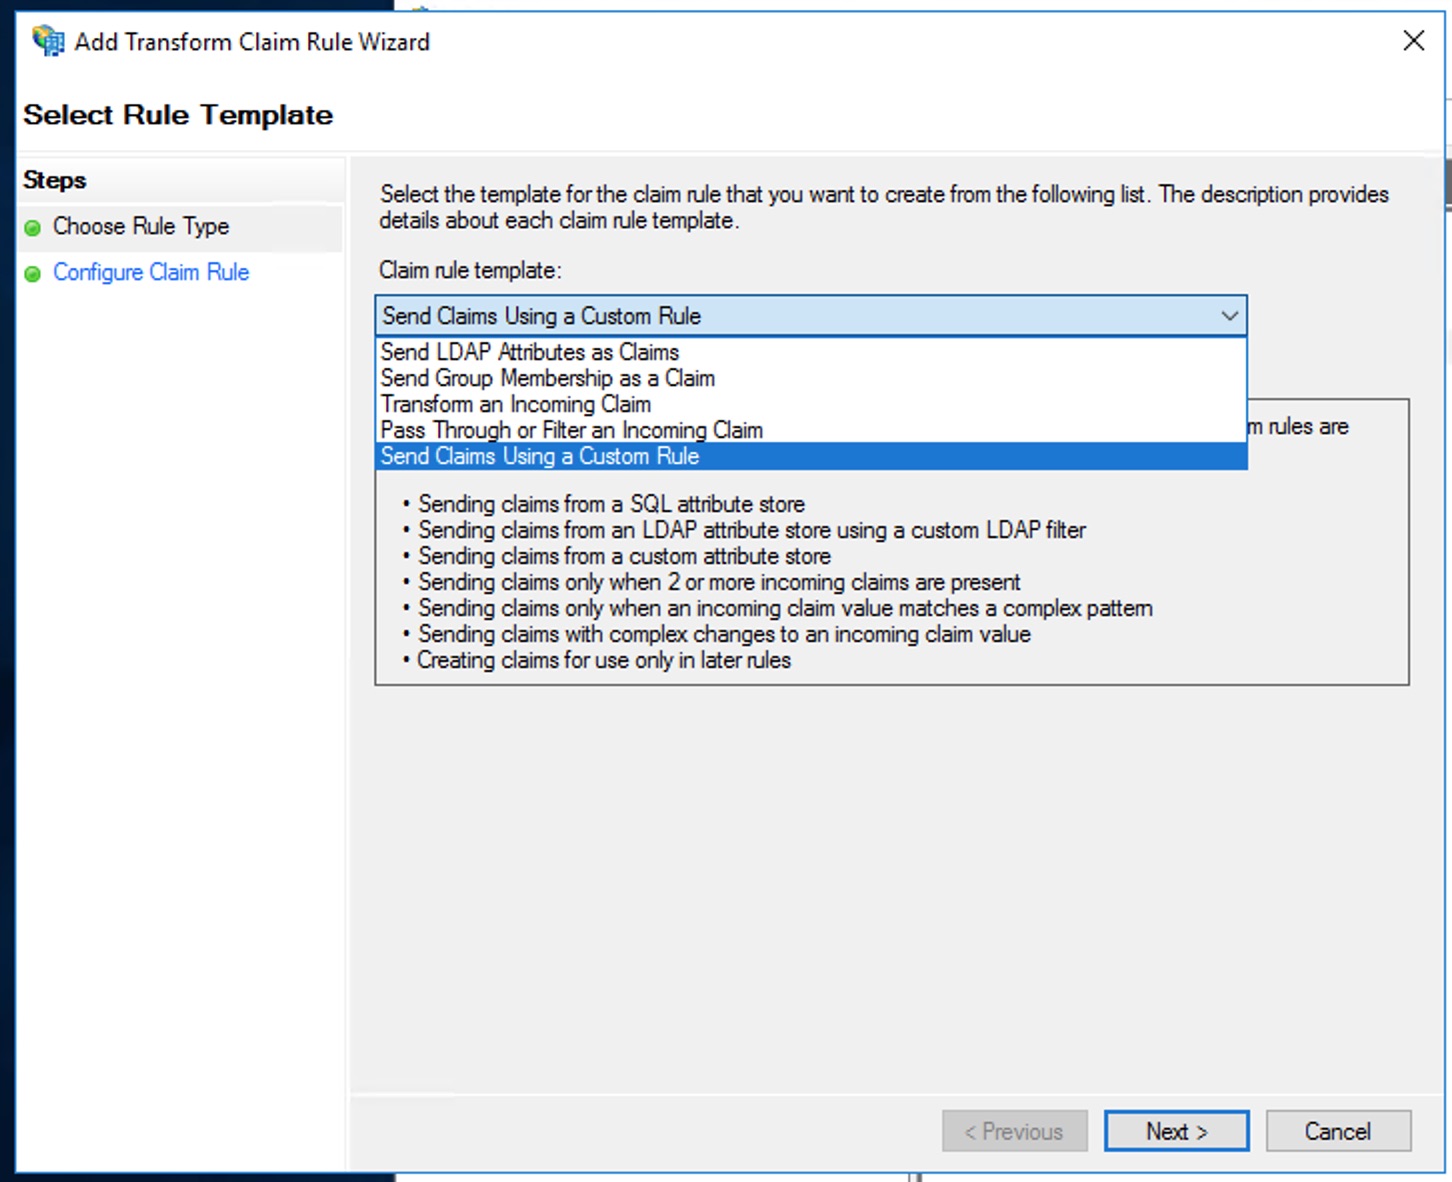
Choose 'Send Claims Using a Custom Rule' and press Next
-
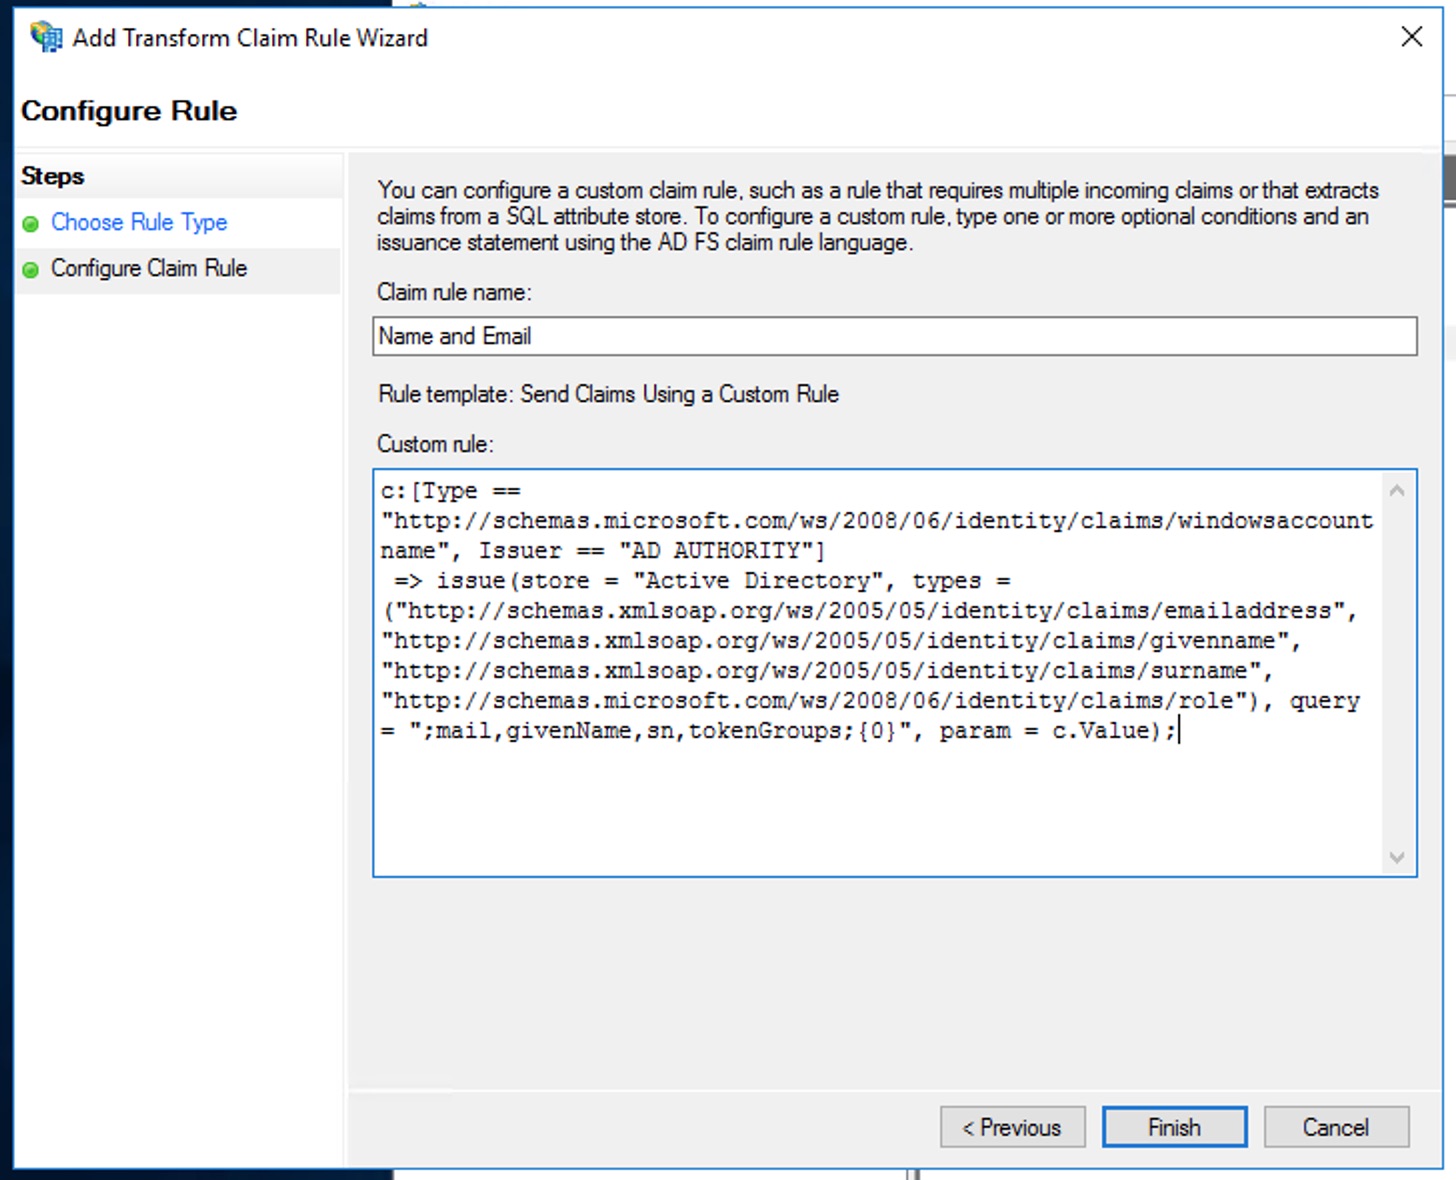
Enter 'Name and Email' as the rule name, paste the following then press 'Finish'
-
Repeat steps 2 and 3 then enter 'Custom Rule 1' as the name, paste the following then press 'Finish'
-
Repeat steps 2 and 3 then enter 'Custom Rule 2' as the name, paste the following then press 'Finish'
-
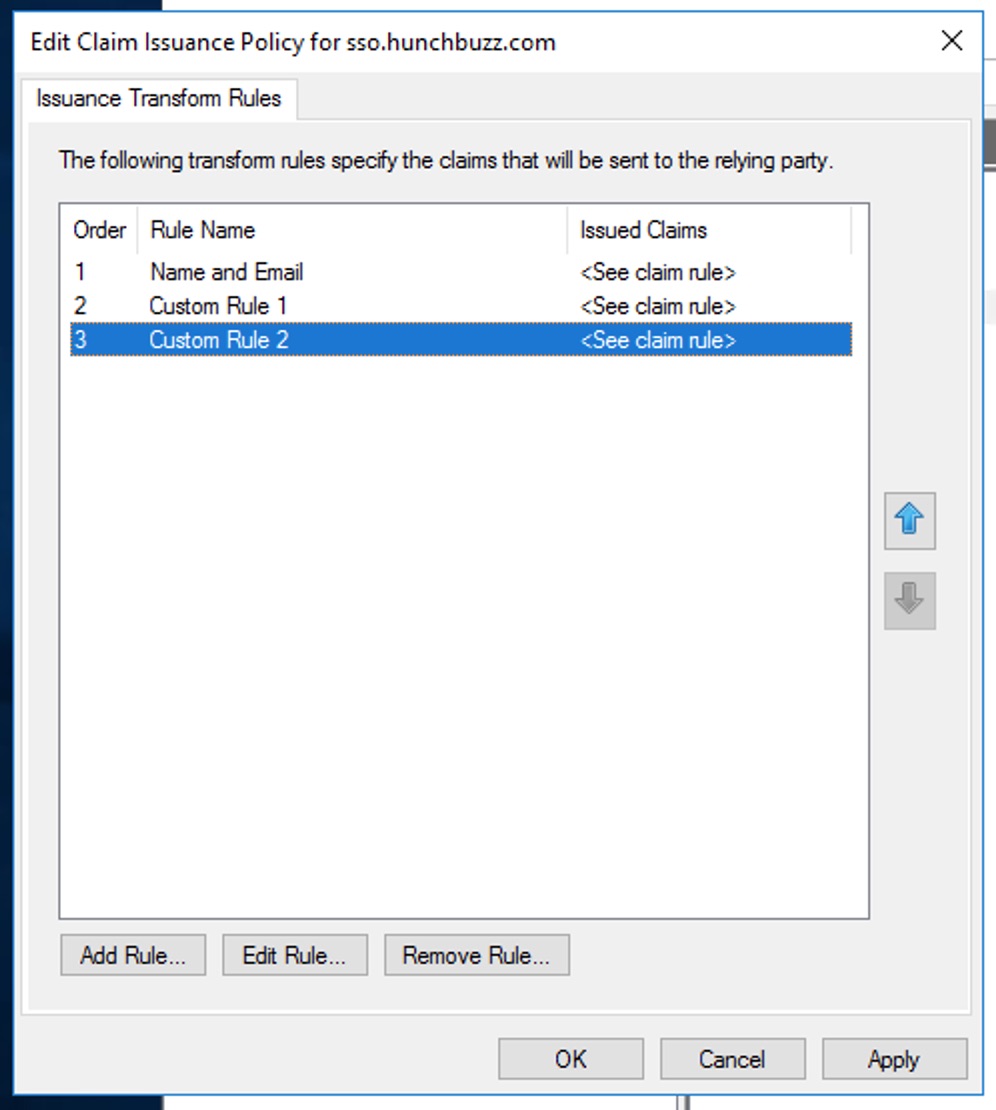
Your 'Issuance Transform Rules' panel should now look like below. Press 'Ok' to save the rules
Step 4 - Attempt to login
Using the provided URL from your HunchBuzz account manager, attempt to login to your platform. All going well, you should be taken to the dashboard.
If you experience issues please get in touch and we'll work through the issues with you.